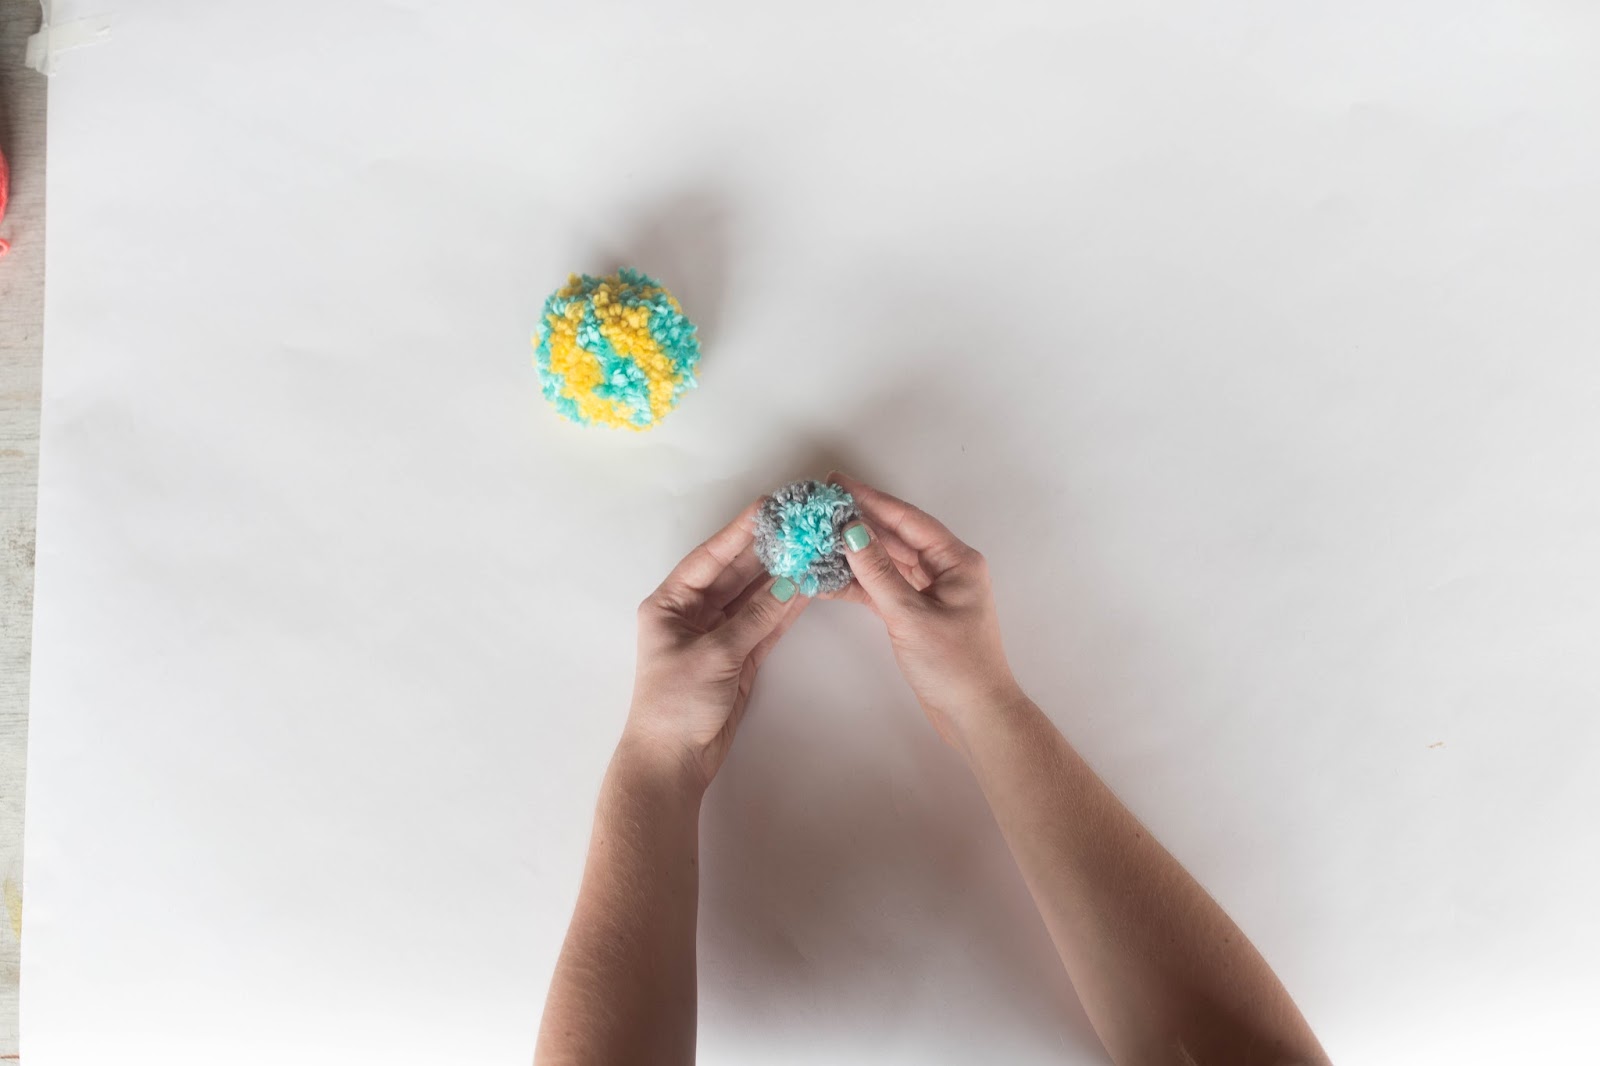
Now that you know how to make a basic pompom, it’s time to move on to more advanced techniques. Today, we’re going to show you how to make two different types of striped pompoms. Follow these easy steps using the yarn of your choice for a super cute pompom!
Choose your yarn
There’s an unlimited number of combinations of yarn colors/types/weights you can use to make your striped pompom. Use your favorite colors or make a holiday pompom. You can mix and match yarn weights and types or use the same kind.
Pick a pattern
We made two different types of striped pompoms - one with only one stripe in the middle and the other with stripes all around. Take your pick!
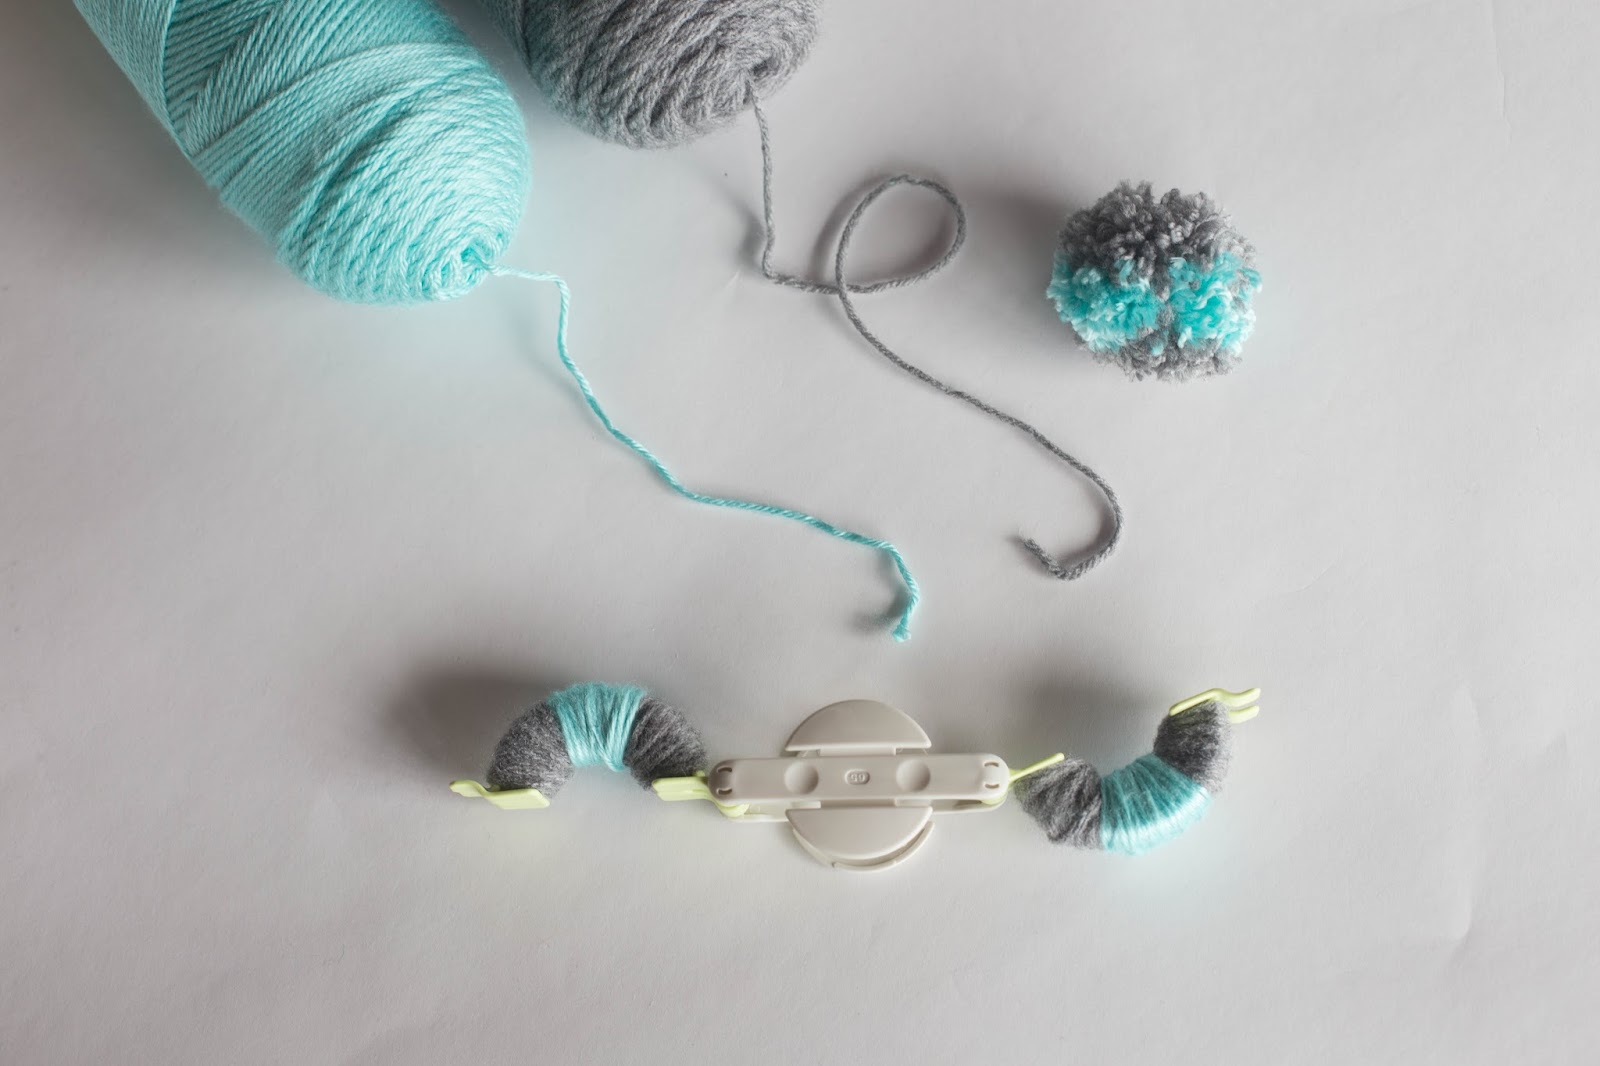
Choose your pompom maker
Whether you use Boye or Clover, choosing your pompom maker is important. The maker you choose determines what size your pompom will be. If you want a smaller pompom, choose a pompom maker in size “small” or around ½-1”; if you want a bigger pompom, choose a large pompom maker.
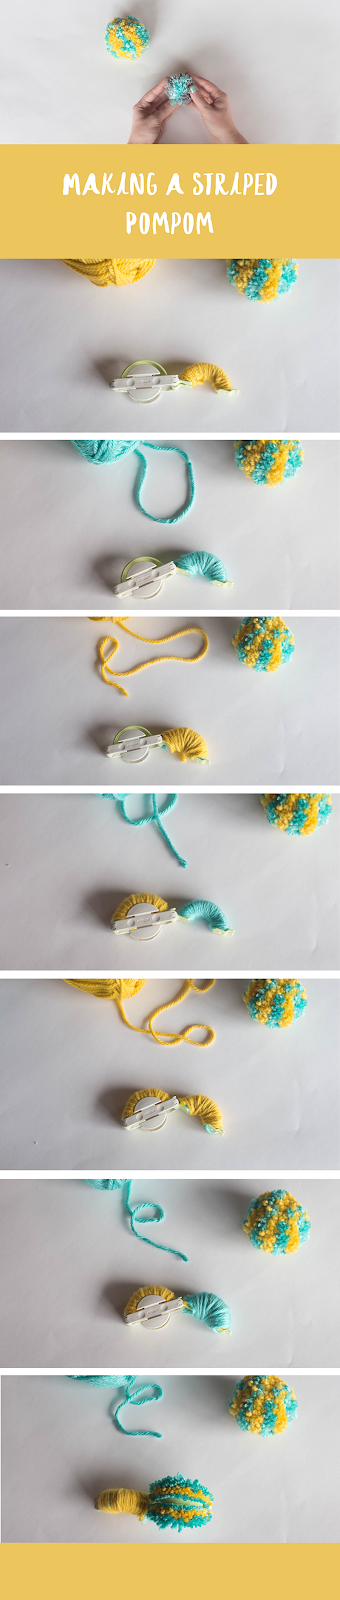
Single Striped Pompom:
If you’re making a pompom with only one stripe in the middle, follow these steps:
Step 1: Wrap the first third of the first side of your pompom maker with Color A. Cut the yarn and tuck the end underneath the wrapped yarn.
Step 2: Wrap the middle part with Color B. Cut the yarn and tuck the end underneath the wrapped yarn.
Step 3: Go back to wrapping the last third with Color A. Cut the yarn and tuck the end underneath the wrapped yarn.
Repeat steps 1-3 on other side of the pompom maker and then cut and tie and voila - you have a pompom with one stripe down the middle.
Multiple Striped Pompom:
If you’re making a pompom with stripes all around, you’ll have to do a little more wrapping.
Step 1: Start by wrapping one complete side with Color A. Cut the yarn and tuck the end underneath the wrapped yarn.
Step 2: On the same side of the pompom maker, wrap a second layer with Color B. Cut the yarn and tuck the end underneath the wrapped yarn.
Step 3: Finish off this side of the maker by wrapping one final layer with Color A. Cut the yarn and tuck the end underneath the wrapped yarn.
Next, go to the other side of your pompom maker and complete step 1-3 with the opposite color you started with on the first side. Then cut, tie and enjoy!